Introduction
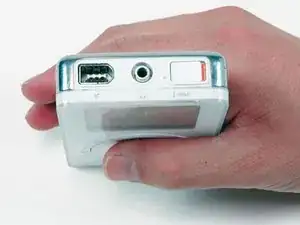
La moitié arrière brillante de votre coque iPod.
Outils
-
-
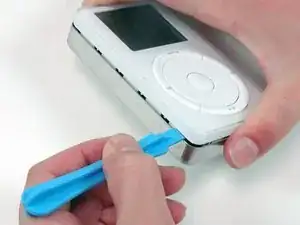
Insérez prudemment un outil pour ouvrir en plastique entre la partie avant blanche en plastique et la coque arrière en métal. Tenez l'iPod en haut et en bas, pressez pour faire sortir le bord. Une fois votre outil inséré, faites-le glisser pour détacher les cinq attaches.
-
-
-
Continuez à faire glisser l'outil pour ouvrir le long du côté de la coque, jusqu'à ce que les cinq attaches aient été détachées.
-
-
-
Progressez autour du coin de l'iPod et détachez les deux attaches qui maintiennent l'iPod ensemble près du connecteur de dock.
-
-
-
Détachez les cinq attaches qui maintiennent l'iPod ensemble de l'autre côté. Vous pourrez peut-être les détacher en faisant délicatement jouer la coque avant de l'iPod.
-
Soulevez la coque arrière de l'iPod pour l'éloigner de l'appareil.
-


Pour réassembler votre appareil, suivez ces instructions dans l'ordre inverse.

Boy, are these cases hard to open! I got nowhere with the spudger, but I did have success using duct tape. This is worth trying as it reduces the likelihood of scratching the case. Make a tab by sticking duct tape to the metal case starting on the side down by the scrolll wheel and ending up where the metal case ends on the firewire side. Fold excess duct tape back on itself so that it is 2x thick anywhere it isn’t stuck to the iPod. This is where you are going to grab it. Rub the duct tape with a spudger or a fingernail where it touches the iPod to make it stick better. Make a similar tab on the other side. Now grab the iPod in your right hand with your thumb at the 1/8” audio connector, squeeze gently, and pull on one of the duct tape tabs. (I stared with the one of the lock button side, but I don’t think it matters.) It is smooth sailing once the case starts to open up. Clean off any duct tape residue with alcohol wipes before re-assembly.
R Calhoun -
Well, maybe for you because you have baby hands and, it Took me less Then a minute to do it
Matthew Cabanas -