
Introduction
Outils
-
-
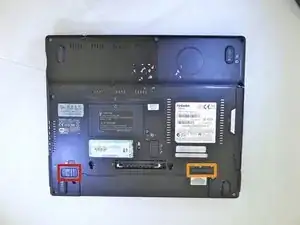
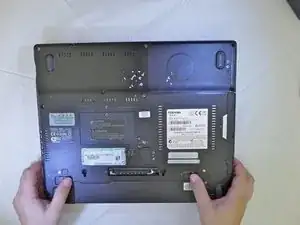
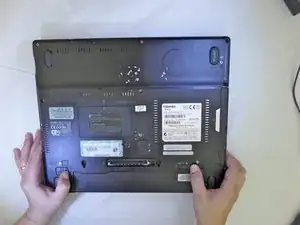
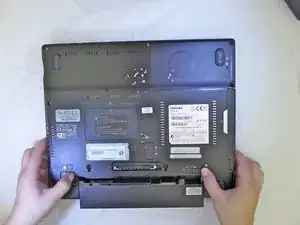
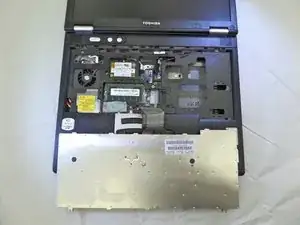
Retournez l’ordinateur portable de sorte que la partie inférieure du boîtier soit face à vous.
-
Placez votre pouce gauche sur le loquet de déverrouillage de la batterie.
-
Placez votre pouce droit sur le loquet d’éjection de la batterie.
-
-
-
Utilisez un tournevis à tête cruciforme n° 00 pour retirer les vis de 8 mm de la bande du clavier situé sous la batterie.
-
-
-
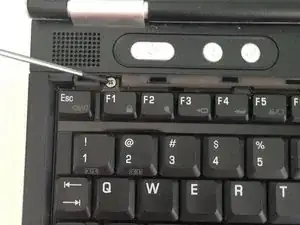
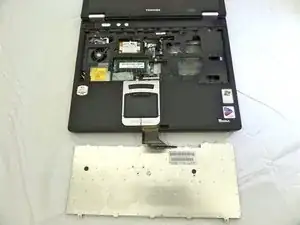
Retournez l’appareil et ouvrez-le pour voir l’écran et le clavier.
-
Soulevez délicatement un des coins de la bande du clavier jusqu’à ce qu’elle se détache de son emplacement.
-
-
-
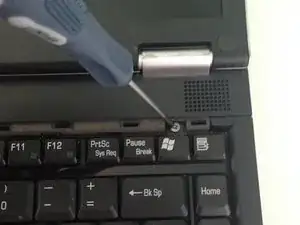
À l’aide d’un tournevis à tête cruciforme n° 00, retirez les deux vis de 4 mm situés sous la bande du clavier.
-
-
-
À l’aide d’un tournevis à tête cruciforme n° 00, retirez la vis de 6 mm qui maintient la plaque métallique.
-
-
-
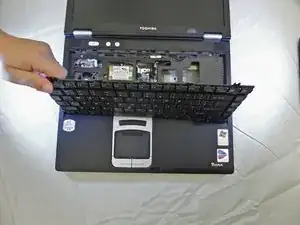
Débranchez délicatement de la carte mère la nappe de connexion du clavier avec vos doigts en soulevant vers le haut.
-
Mettez le clavier de côté.
-
-
-
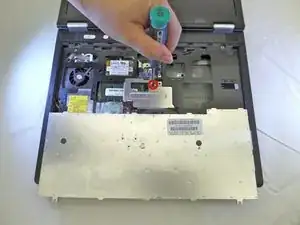
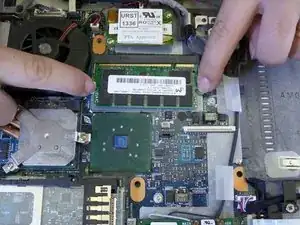
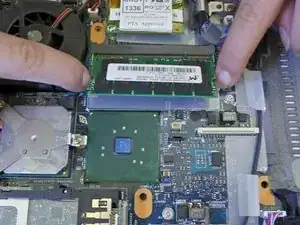
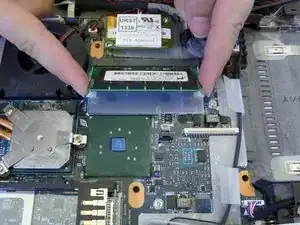
Écartez simultanément les languettes métalliques qui maintiennent votre module de RAM.
-
Prenez le module par les côtés avec vos deux index et sortez-le bien droit après qu’il se soit soulevé.
-


Pour remonter votre appareil, suivez ces instructions dans l’ordre inverse.
2 commentaires
Awesome. Thanks!
Carl H -
Wow, so I was about to call BS on this being a weirdly convoluted way to do this, but instead I learned something. In the pictures you can see a panel, right above the Windows Authenticity sticker, with a black "CAUTION" sticker held in by a single screw. Remove this panel and, voila, there's your RAM slot. I kept wondering why the author of this guide was having the reader go to all the trouble of removing the keyboard when obviously you could access this area from this spot on the bottom a whole lot easier.
Well, guess what? Contrary to my initial belief, this is NOT just a more convoluted method of reaching the same slot! So yeah, it's probably worth mentioning that there are actually 2 slots in different locations for anyone else who may be screwing around with this ancient laptop and be as confused as I was for a second there. (I suspect the author just forgot to mention it, since you can see they've removed that back panel stick already in the Step 4 pic.)