Introduction

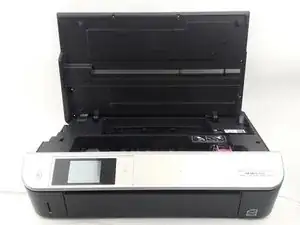
Le panneau est ce qui maintient l'écran en place. Avant de retirer le panneau, assurez-vous que l'imprimante est débranchée.

  1. ELnykX3EqqOhZXwV
    • Soulevez l'écran de l'imprimante.

  2. iWcMhvnRXp2V2nJT
    iWcMhvnRXp2V2nJT
    BxMQXPPPYyJxykck
    VwDeRDepp365PZev
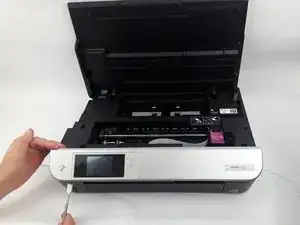
    • Utilisez la spatule en métal de la boîte à outils IFIXIT pour soulever le coin gauche du panneau avant.

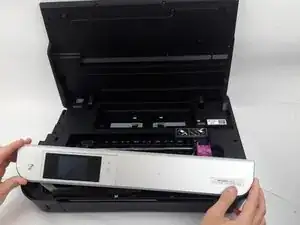
    • Soulevez lentement le panneau avant en faisant glisser la spatule en métal le long du bord du panneau avant.

    On some printer version, you may find a single torx 10 screw under the right sticker.

    Remove it and then slide the panel to the right then to the top.

    Easy as said!

    No need to use any spudger.

    Learned it the hard way ;)

    Cecil His Mahier -

  3. ngdE2DLNMVvjvDTW
    ngdE2DLNMVvjvDTW
    ye4pJHaGOMTUcQAx
    • Retirez le panneau avant en soulevant chaque coin.

    • Remplacer le panneau avant.

    There’s a screw undcer the model label on the right. Peel the label up right to left to expose the screw, remove the screw to lift the front panel off.

    sel full -

Conclusion

Pour remonter votre appareil, suivez ces instructions dans l'ordre inverse.

Elizabeth Surface

Membre depuis le 27/08/15

1465 Réputation

4 commentaires

My HP Envy 5530 had a screw hidden beneath the label on the right side of the front panel. I used a knife to lift the label to access the screw.

rndymike -

Is the front panel from a 5532 compatible with the Envy 5530?

Armando Pagan -

Wish I would have seen the comment about the screw… fix your post… at least protect others from making the same mistake

Azpatch -

Where does the cable go?

Victorian Lover -